
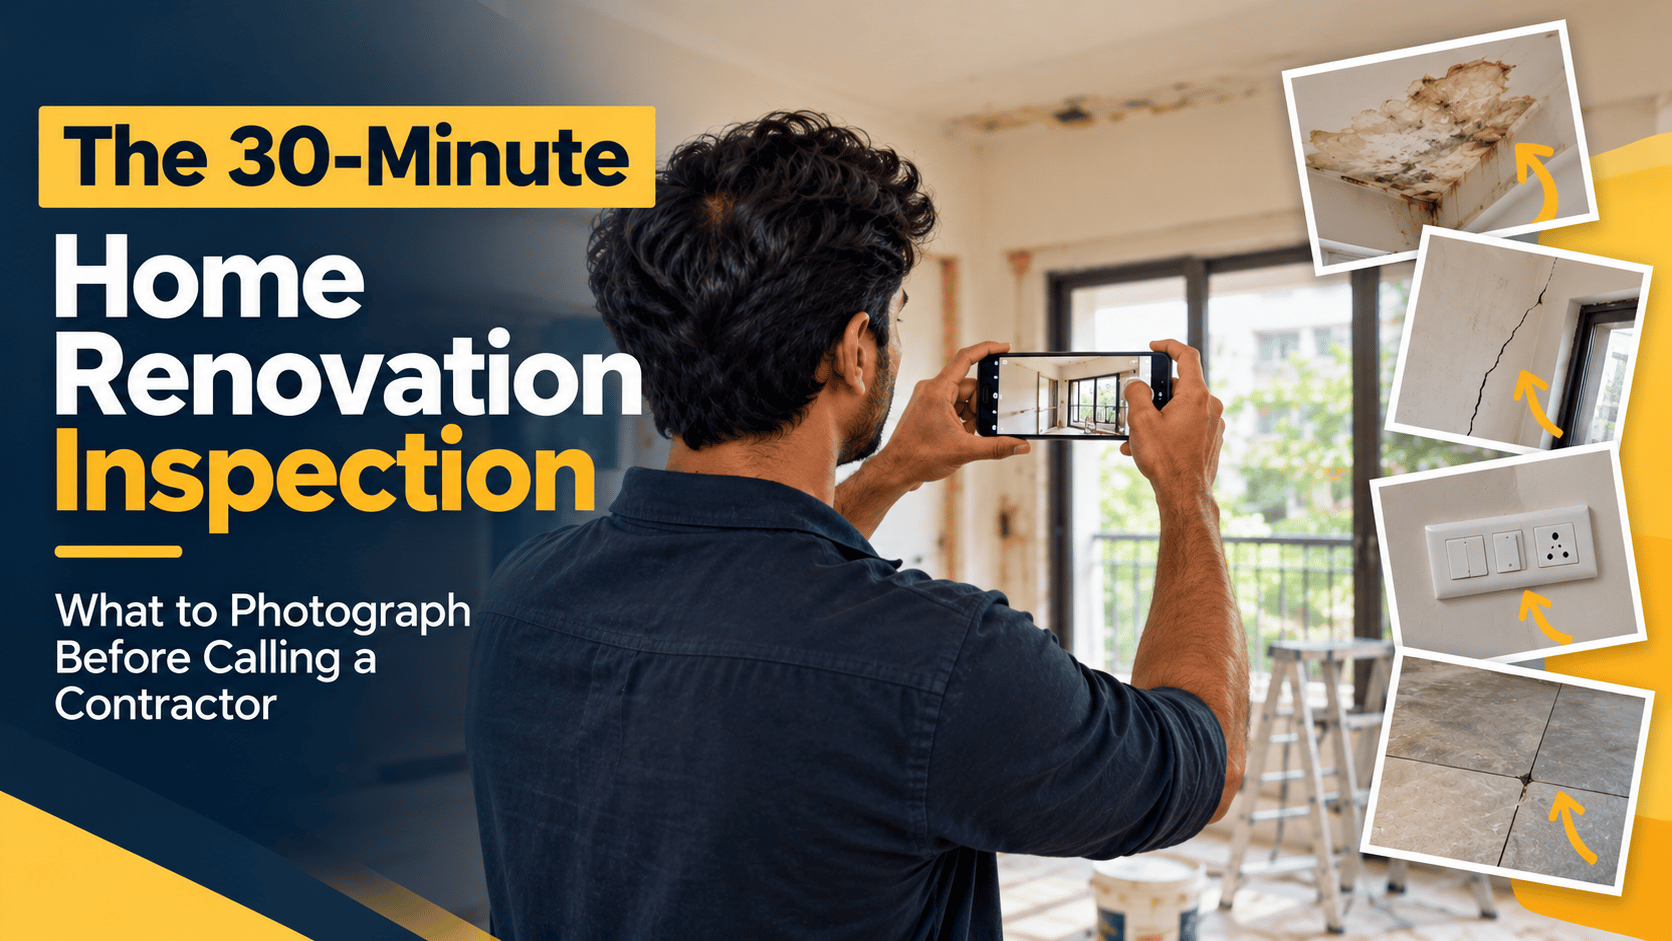
Before you call a contractor for a home renovation, spend 30 minutes walking through your home with your phone.
It sounds simple, but those 30 minutes can make your first contractor conversation much more productive.
Instead of saying, “I want to renovate my flat,” you can show exactly what needs attention. A contractor can understand the existing condition of the property, identify areas that may need closer inspection and prepare for a more meaningful site visit.
You don't need professional equipment.
Your smartphone, a measuring tape and a few notes are enough.
Here is exactly what to photograph.
Start with a complete walkthrough
Before taking individual photographs, record a slow video walkthrough of the entire house.
Start at the entrance and move through every room in the same order.
Capture:
- The entrance
- Living room
- Bedrooms
- Kitchen
- Bathrooms
- Balcony
- Utility area
- Passageways
- Doors and windows
Don't rush.
The purpose is to give the contractor a sense of the home's current layout before visiting.
Take the video horizontally if you are sharing it with a contractor over WhatsApp, unless they specifically ask for a vertical video.
1. Photograph every wall with visible cracks
Cracks are one of the first things worth documenting.
Take one photograph from a distance so the contractor can see where the crack is located.
Then take a closer photograph.
Look for:
- Hairline cracks
- Long horizontal cracks
- Vertical cracks
- Diagonal cracks
- Cracks around doors and windows
- Cracks between walls and ceilings
- Areas where plaster has fallen away
If possible, place a ruler or measuring tape next to a larger crack so its approximate width can be understood from the photograph.
Don't assume every crack means there is a structural problem.
The purpose of the photograph is to help identify which areas require further inspection.
2. Photograph dampness before repainting anything
If you see damp patches, don't simply take a photograph of the wall.
Photograph the surrounding area as well.
For example, if dampness is visible below a bathroom wall, capture the bathroom side and the adjacent room.
Look for:
- Dark patches
- Bubbling paint
- Peeling paint
- White powdery deposits
- Mould
- Damp corners
- Water stains on ceilings
Also photograph any visible plumbing near the affected area.
This can help the contractor understand whether the issue may be related to plumbing, waterproofing, external moisture or another source that needs investigation.
3.Photograph the ceiling
Ceilings are easy to ignore because most people focus on walls and floors.
Take photographs of every ceiling, particularly if you notice:
- Water stains
- Cracks
- Peeling paint
- Damp patches
- Mould
- Uneven surfaces
- Previous repair work
If you are planning a false ceiling, photograph the existing ceiling before any work begins.
The existing electrical points, fan positions and other fixtures may influence the renovation plan.
4. Photograph your electrical points
Walk around each room and photograph the existing switches and sockets.
Don't just photograph the switchboard.
Take a wider photograph showing where the board sits on the wall.
This becomes useful when discussing changes such as:
- Additional sockets
- AC points
- TV points
- Internet points
- Bedside charging points
- Kitchen appliance connections
- Washing machine points
- Geyser points
If you live in an older property, photograph the main electrical panel as well.
A contractor or electrician may need to inspect it more closely during the site visit.
5. Photograph plumbing fixtures and visible pipes
In the kitchen and bathrooms, photograph:
- Taps
- Sinks
- Toilets
- Shower areas
- Floor drains
- Water heaters
- Exposed pipes
- Under-sink plumbing
Open the cabinet beneath the kitchen sink and take a photograph there too.
Do the same beneath bathroom basins where accessible.
These photographs can reveal the condition of visible plumbing and help identify areas that may need replacement.
6. Photograph the kitchen from every corner
If you're renovating the kitchen, take more photographs than you think you need.
Stand at each corner and photograph the kitchen facing inward.
Then photograph:
- Existing cabinets
- Countertop
- Sink
- Wall tiles
- Floor
- Appliances
- Plumbing connections
- Electrical points
- Window
- Gas connection area
Also take one photograph showing the kitchen entrance.
This gives the contractor a much better understanding of the available space.
If you already know where you want the refrigerator, washing machine or other appliances, photograph those areas too.
7. Photograph every door and window
Doors and windows affect both the appearance and functionality of a renovation.
Photograph them from inside and outside where possible.
Look for:
- Damaged frames
- Swollen wooden doors
- Rust
- Broken handles
- Gaps
- Difficult-to-close shutters
- Water seepage
- Damaged glass
- Old mosquito mesh
If you want to replace them, include a rough measurement in your notes.
Don't rely entirely on photographs for measurements. The contractor should verify dimensions during the site visit.
8. Photograph the flooring
Take photographs of the floor from a standing position.
Then take close-ups of areas showing:
- Cracked tiles
- Hollow tiles
- Uneven surfaces
- Stains
- Damaged grout
- Loose flooring
- Water damage
If you are considering replacing the flooring, photograph the transitions between different floor surfaces as well.
These small details can become important when planning the renovation.
9. Photograph existing furniture you want to keep
This is something homeowners often forget.
If you plan to retain an existing sofa, bed, dining table, wardrobe or other furniture, photograph it.
Then make a simple note:
KEEP
This prevents the contractor from assuming that everything will be removed.
If there is furniture you definitely want to replace, photograph that as well and mark it:
REPLACE
This makes your renovation brief much clearer.
10. Photograph the areas where you want something new
Don't only photograph problems.
Photograph opportunities.
For example:
“I want a wardrobe here.”
“I want additional storage above this cabinet.”
“I want a study desk near this window.”
“I want to create a TV unit on this wall.”
“I want to add a washing machine here.”
Take a photograph of the space and add a simple note describing what you have in mind.
You don't need a professional design.
A photograph plus a sentence is often enough to start the conversation.
Take measurements, but don't try to become the contractor
After photographing the house, spend a few minutes taking basic measurements.
You can record:
- Room length
- Room width
- Ceiling height
- Door width
- Window width
- Kitchen counter length
- Approximate wardrobe space
Write the measurements directly in your phone.
However, treat these as preliminary measurements.
A contractor should take final measurements before providing a detailed quotation or beginning execution.
What should you photograph in an old Kolkata home?
Older homes deserve a slightly more detailed inspection.
Look carefully at:
- Damp walls
- Ceiling stains
- Old electrical panels
- Exposed wiring
- Plumbing
- Cracks
- Window frames
- Bathroom waterproofing
- Flooring
- Areas with previous repairs
If the property has been occupied for many years, don't assume that a fresh coat of paint means everything underneath is fine.
Renovation often exposes problems that were not visible during the first walkthrough.
That's why photographs taken before work begins are valuable.
Create one renovation folder on your phone
Don't leave the photographs scattered throughout your camera roll.
Create a folder called:
Home Renovation 2026
Inside it, create subfolders such as:
Living Room
Bedroom 1
Bedroom 2
Kitchen
Bathroom
Electrical
Plumbing
Damage & Repairs
Ideas
This makes it much easier to share information with contractors and compare different proposals.
What should you send a contractor before the site visit?
You don't need to send 200 photographs.
Start with:
- One walkthrough video
- 3–5 photographs of each important room
- Close-ups of visible problems
- Kitchen photographs
- Bathroom photographs
- Electrical panel photograph
- A basic floor plan if you have one
- Your list of renovation requirements
Then explain what you actually want.
For example:
“We want to renovate this 2BHK. The kitchen and both bathrooms need work. We want new wardrobes in both bedrooms, repainting throughout and some electrical upgrades. We would also like to explore false ceiling options.”
That's much more useful than simply saying:
“How much will it cost to renovate my house?”
Why photographs can save you time
A contractor cannot provide an accurate final quotation based only on photographs.
A proper site inspection is still important.
But good photographs can make the first conversation significantly more useful.
They help establish the scope.
They help identify obvious problem areas.
They allow you to communicate your requirements clearly.
And when multiple contractors are visiting the property, having the same information ready for everyone makes comparison easier.
One more thing: photograph your home before renovation starts
There is another important reason to document your property.
Take photographs of the entire home before the contractor begins work.
Capture the condition of:
- Walls
- Flooring
- Doors
- Windows
- Fixtures
- Appliances
- Furniture
- Electrical fittings
- Plumbing fixtures
Keep these photographs safely stored.
They provide a visual record of the property's condition before the project begins.
Your 30-minute renovation inspection checklist
Before calling a contractor, ask yourself:
Have I photographed every room?
Have I documented cracks and dampness?
Have I photographed the kitchen and bathrooms properly?
Have I captured electrical and plumbing points?
Have I photographed doors and windows?
Have I identified what I want to keep and replace?
Have I photographed the areas where I want new furniture or features?
Have I taken basic measurements?
Have I recorded everything in one folder?
If the answer is yes, you are already better prepared for your first contractor conversation.
Renovation starts before the first brick is touched
A successful renovation isn't just about choosing tiles, paint colours or furniture.
It starts with understanding what you already have.
Spend 30 minutes documenting your home before inviting contractors for a site visit. You may discover problems you hadn't noticed, communicate your requirements more clearly and make it easier to compare what different professionals are proposing.
And remember, photographs are a starting point, not a substitute for a proper inspection.
For homeowners planning renovation, construction or repair work in Kolkata and beyond, Mistry Bhejo helps connect you with verified professionals and suppliers.
Visit www.mistrybhejo.com to explore your requirements and get started.